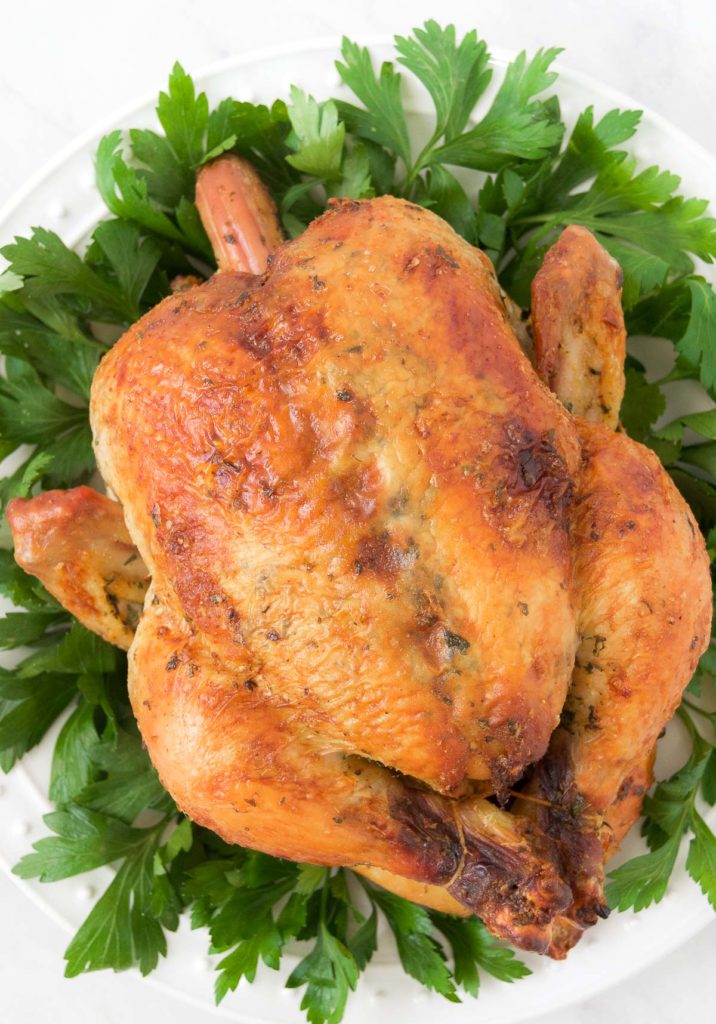
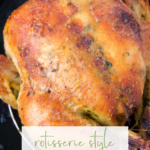
Rotisserie-Style Brazilian Chicken
This Rotisserie-Style Brazilian Chicken is a flavor-filled weeknight classic. The secret to this juicy recipe is in the rotisserie chicken marinade, which calls for a blend of spices and a few wet ingredients. And one of the best parts is you don’t need a rotisserie oven to make this recipe: you can use your regular oven! Plus, come get all the baking tips you need to make the best oven rotisserie chicken ever.
Why I love this Oven Rotisserie Chicken
Oi Gente!
I grew up eating franguinho de padaria—rotisserie chicken—from our neighborhood bakery with all the fixings like rice, salsa vinaigrette, farofa and sometimes potato salad, too. It was always one of our favorite meals of the week.
Seriously… there’s something truly magical about rotisserie chickens. From how tasty they are to their simplicity and ease: just purchase, serve and enjoy!
And making rotisserie chicken at home can be just as easy. (And no, you don’t need a rotisserie oven to make it happen!)


I make this Rotisserie-Style Brazilian Chicken recipe time and time again because it’s easy, and it reminds me of home!
This has even been my secret weapon on a few of our intimate holidays, too.
Believe you me: you’ll find yourself busting out this recipe all year long!
Beijinhos xx
Oven Rotisserie Chicken Ingredients
Brazilian Kitchen Abroad is a participant in the Amazon Services LLC Associates Program, an affiliate advertising program designed to provide a means for us to earn fees by linking to Amazon.com and affiliated sites.
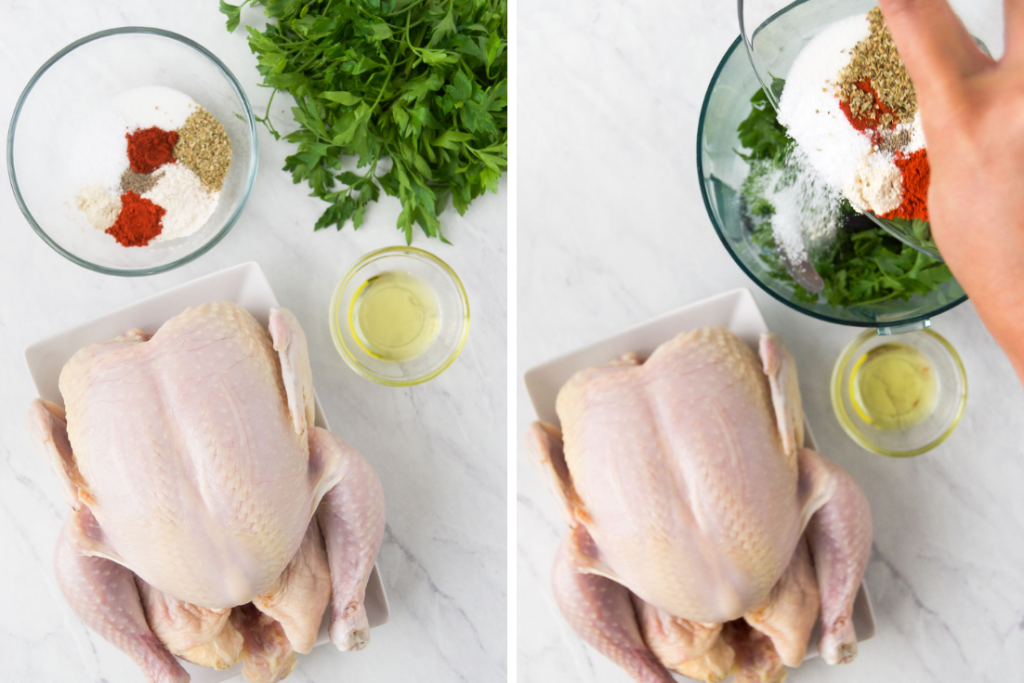
This recipe doesn’t require a whole lot of fresh ingredients. In fact, the vast majority of what you need to make this oven rotisserie chicken can already be found (hopefully!) in your pantry.
- 5 lb. whole chicken
- Fresh parsley
- Onion powder
- Garlic powder
- Kosher salt
- Achiote powder, optional
- Ground paprika
- Dried oregano
- Granulated sugar
- Olive oil
- Juice of one lime
- Black pepper
- Butter
Tools to make Oven Roasted Chicken
Brazilian Kitchen Abroad is a participant in the Amazon Services LLC Associates Program, an affiliate advertising program designed to provide a means for us to earn fees by linking to Amazon.com and affiliated sites.
- Food processor
- Gallon size Ziploc bag
- Cast iron roasting pan
- Baking rack
- Pastry brush
- Instant read meat thermometer
How to make Oven Rotisserie Chicken Marinade
We start by making the marinade, and to do that, we toss all the ingredients, except for the chicken and butter into the food processor. Buzz, buzz, buzz and our rotisserie chicken marinade is done.
Next, we need to prepare the chicken so it can soak up all that delicious marinade properly.
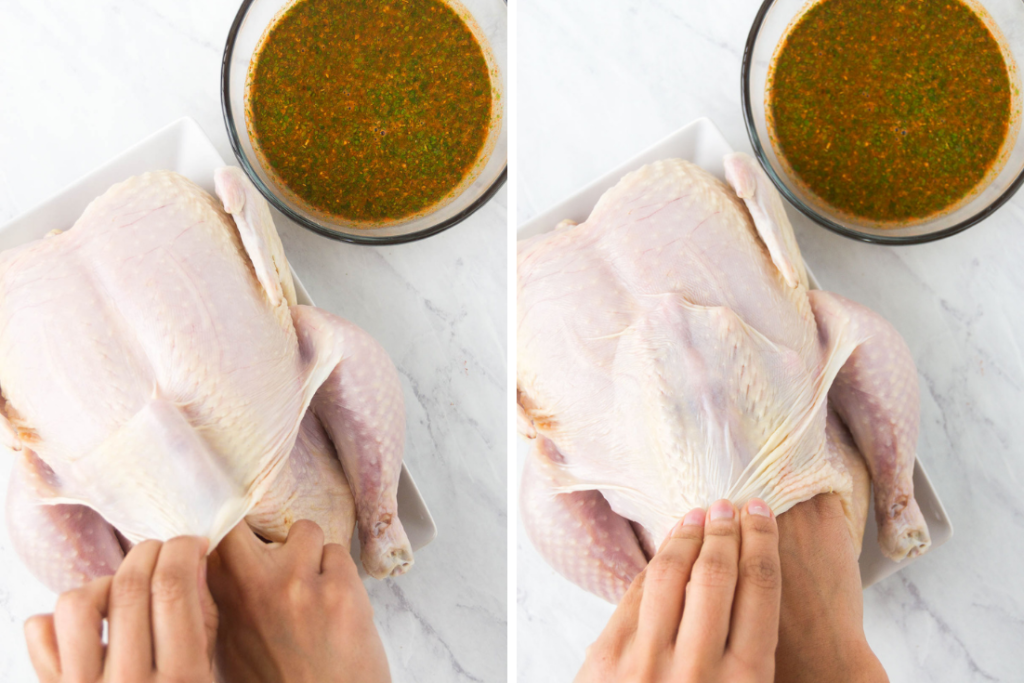
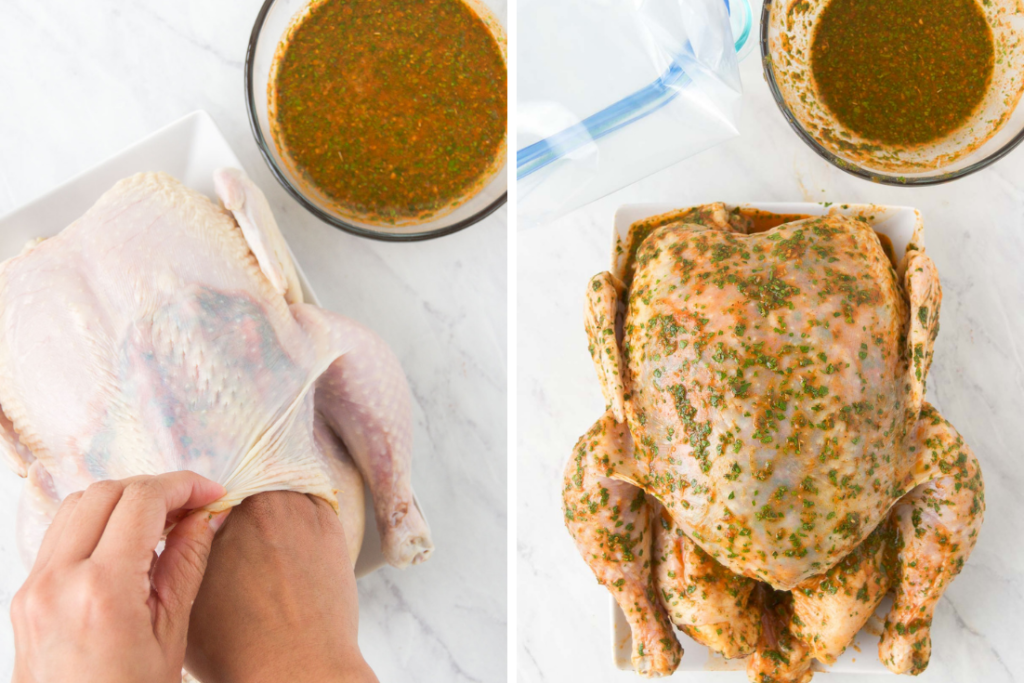
- First, we clean the chicken by discarding the bag with giblets from inside the cavity (if it has one) and remove any excess fat and leftover feathers from around the cavity.
- Second, we need to separate the skin from the meat by gently lifting up the skin with your fingers like in the image above. As the skin lifts up, stick your finger/hand beneath it to continue pulling the skin away from the breast meat without tearing.
If you have long nails or if the thought of sticking your hands under chicken skin freaks you out, just use the back of a spoon to do this part.
Next, we’re going to generously salt the chicken all over—inside the cavity and under the skin, and let it sit a few minutes.
Speaking of salt…
You’ll notice there’s already salt in the marinade. However, it’s not enough to really season the whole chicken properly. This way, you can control the salt amount in the recipe according to how much of it you like.
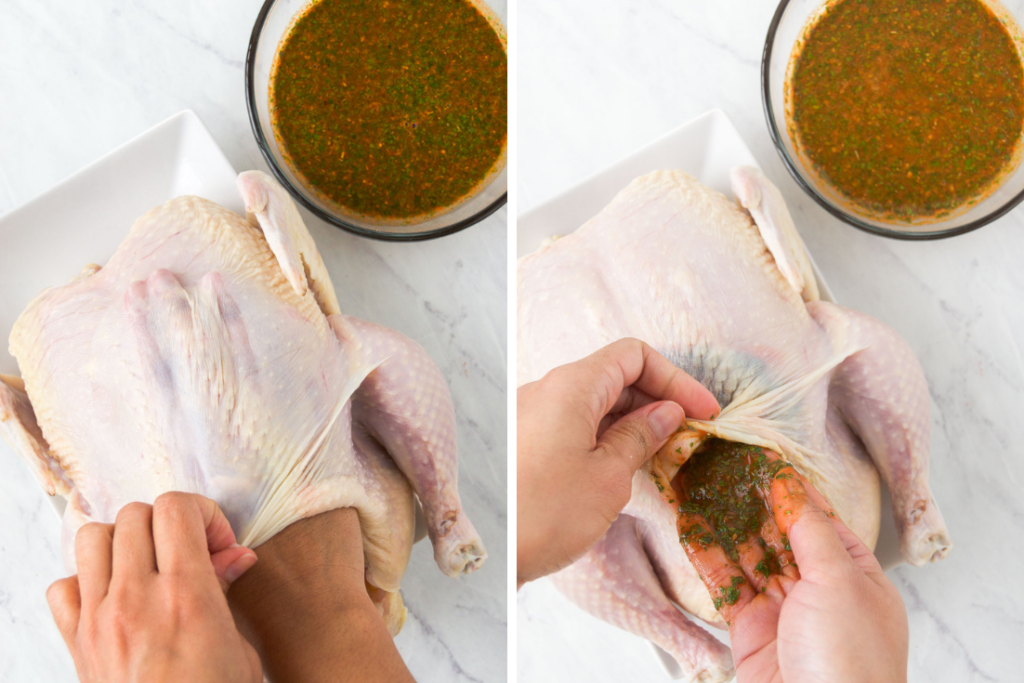
After we salt the chicken, we can rub the Rotisserie Chicken Marinade under the skin, inside the cavity and on the surface of the skin.
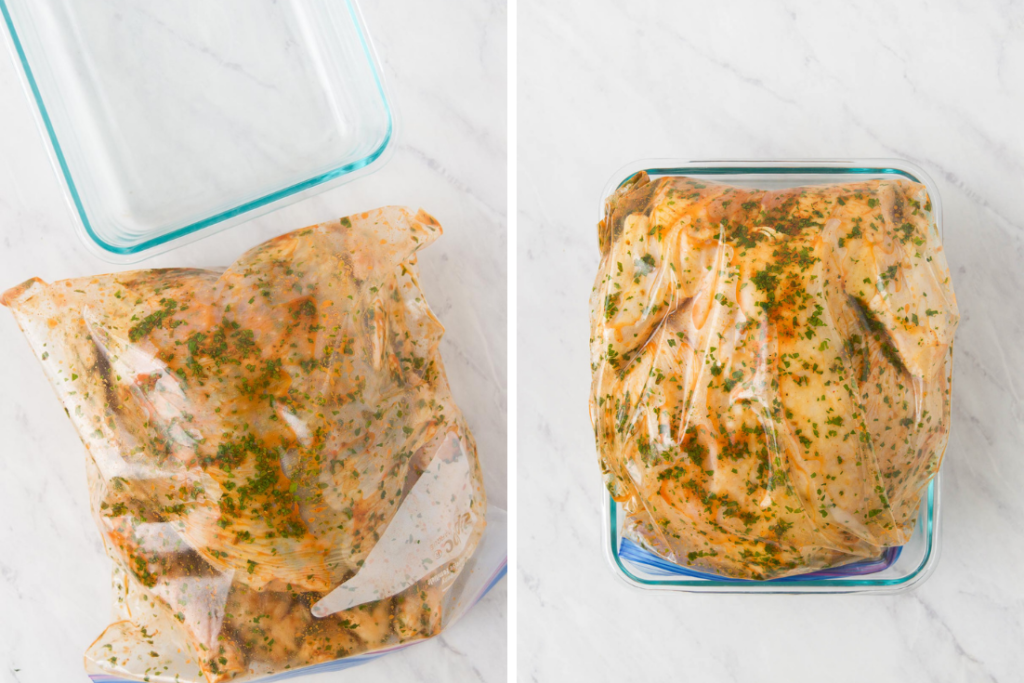
Transfer the marinated chicken to a ziptop bag, along with the marinade, and let it marinate in the fridge for 4 hours, preferably overnight.
I like to flip mine belly down so that the marinade I poured into the cavity can now pool toward the back of the breasts instead of the back of the chicken, which is a part that no one will really eat.
How to Make Brazilian Chicken in the Oven
Before you bake:
After your Rotisserie-Style Brazilian Chicken has marinated for at least 4 hours (or overnight), remove it from the fridge and the marinade about an hour before you intend to cook it. Why? This will help make sure the chicken bakes evenly.
You’ll also want to remove all the excess marinade by patting the chicken dry with a paper towel. This will help make sure the skin is nice and dry and ready for that crispiness to form!
Brazilian Kitchen Abroad is a participant in the Amazon Services LLC Associates Program, an affiliate advertising program designed to provide a means for us to earn fees by linking to Amazon.com and affiliated sites.
Don’t skip Trussing the Chicken:
To truss means to tie poultry. Some may think this is an unnecessary step, but I promise you this easy little step ensures even cooking, and will make your oven roasted chicken look a lot prettier, too!
There are many ways to truss chicken for a roast. I like to use kitchen twine for this, but you can also use aluminum foil to tie the chicken legs together.
How to truss a chicken:
- Place the chicken breast side up on a cutting board with the legs facing you.
- Measure and cut the kitchen twine. It should be about 3-4 times the length of the chicken—more is always better than not enough because you can cut off the excess after the final tie.
- Truss! Place the center of the string over the neck, and pull it down the sides of the wings and legs. Then, tie one knot in front of the cavity and under the lower breast plate. Next, bring the string around the legs and tie them together. You want the chicken to be like a tight little package!
- Finally, press and tuck the wing tips under so they’re protected by the breast. This will protect them from burning.
As I type these steps I realize I can write a whole post and include some step-by-step photos and additional information on how to truss, but I hope this helps you get started.
And, if a whole truss is too much for you to process, one hack is to just tie the legs, and tuck the wing tips. This will at least keep your chicken pretty to serve!
Baking your Oven Rotisserie Chicken:
I like to use a cast iron roasting pan because it generates loads of great heat and a baking rack to keep the chicken elevated and to help air circulate around it. This combination helps the cook the chicken more consistently and assists in getting that magical crispy skin.
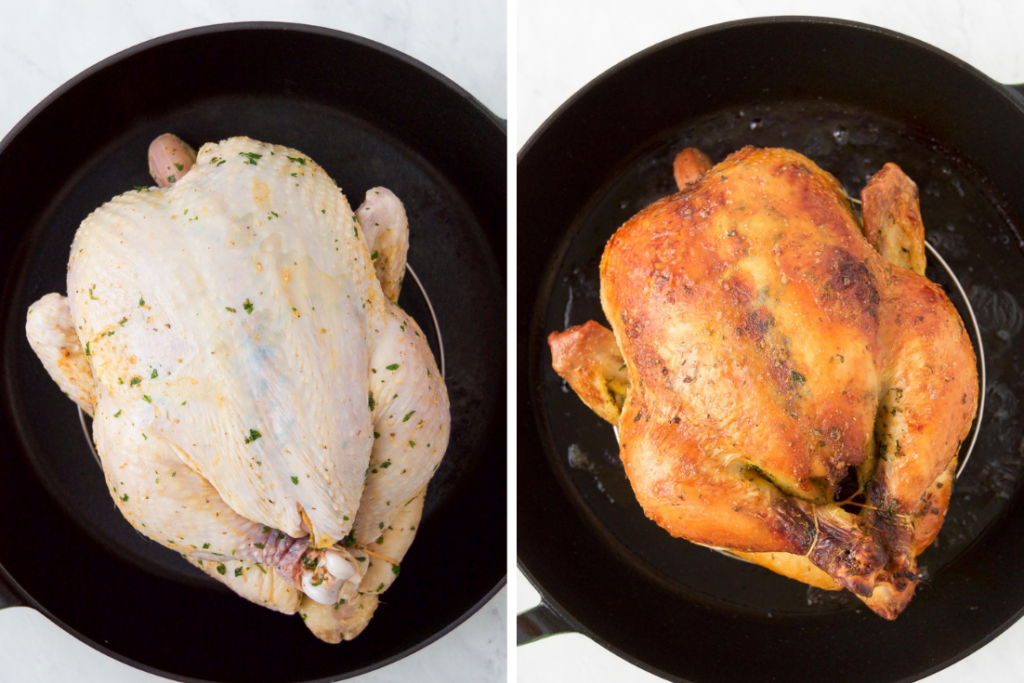
Nestle your trussed chicken onto the baking rack, and brush it with butter. Sprinkle the marinated chicken with salt and pepper, too.
How to Roast Brazilian Chicken
This part is all about working the temperature and hot spots in the oven and using that to our advantage to get the perfect Oven Roasted Chicken. We’re going to start hot at 425F, then we’ll decrease the temperature twice to finish cooking at 375F.
I like to place my roasting pan in the oven with the chicken legs facing the back of the oven because that’s where the oven is hottest. Roast the chicken for 30 minutes this way, then rotate the chicken to have the breast side toward the back of the oven and reduce the temperature to 400F.
Roast the chicken for another 30 minutes, then rotate the Brazilian chicken again to have the legs facing the back of the oven.
Reduce the heat again, now to 375F, and roast for another 15-30 minutes. This time will depend on the size of your chicken, so keep an eye on it!
How to tell when your Oven rotisserie chicken is cooked
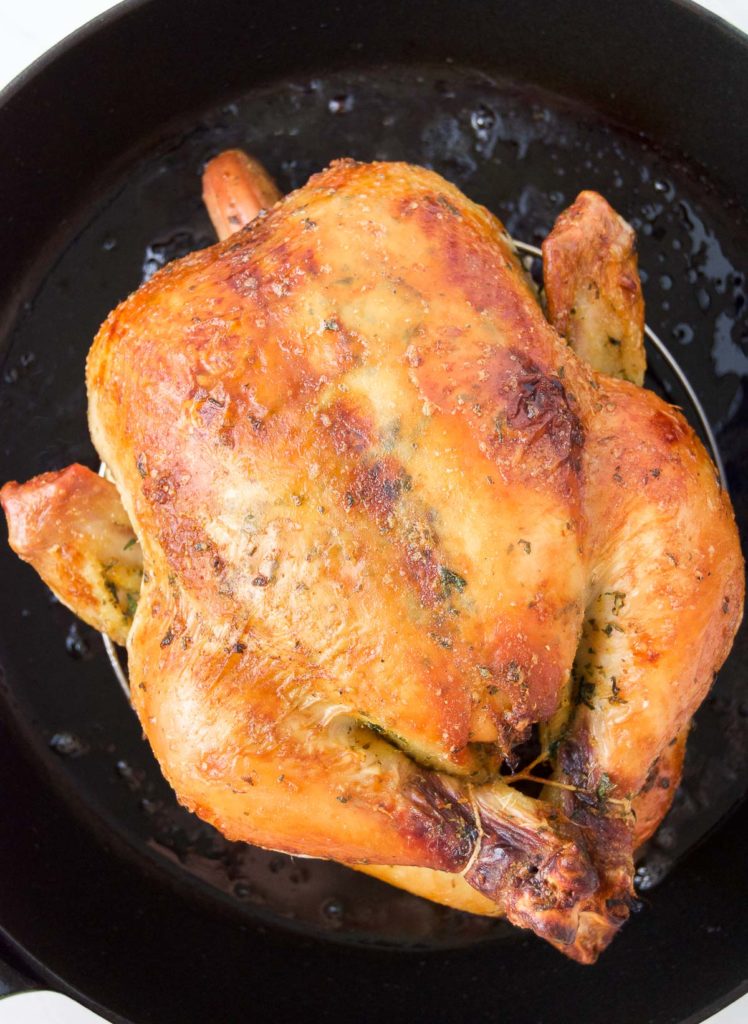
You want the juice to run clear when you cut between the leg and the thigh of your roasted chicken. The internal temperature needs to reach 175-180F. You can get this by inserting an instant read meat thermometer into the chicken’s thigh.
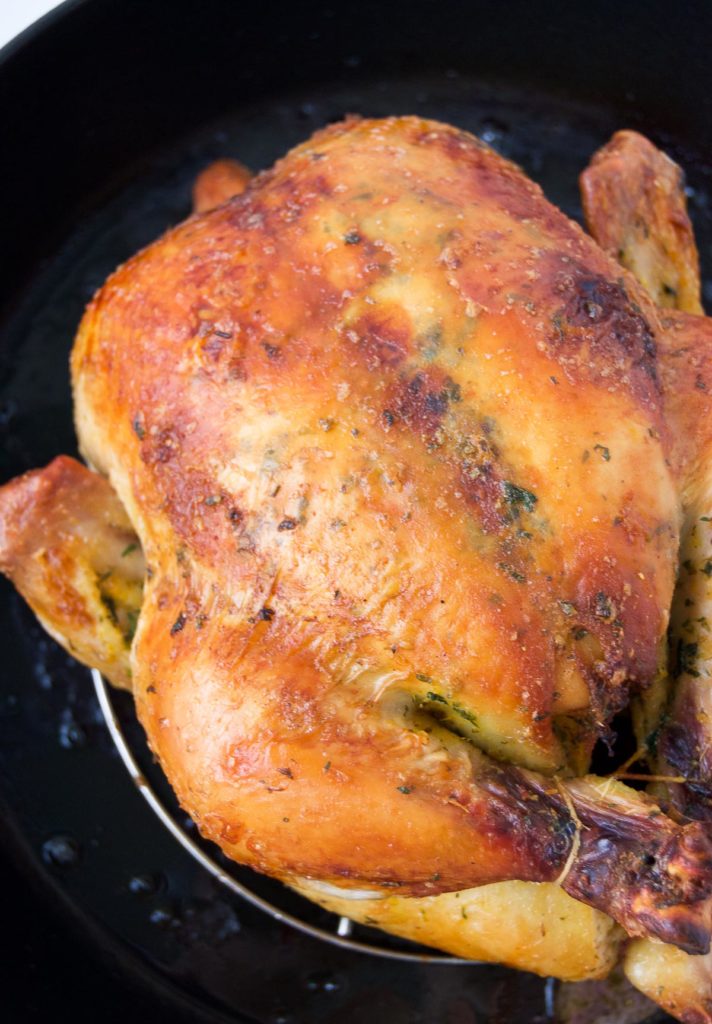
When your Oven Roasted Chicken has reached this ideal internal temperature, remove it from the oven, and let it rest for 20 minutes before carving.
What to Serve with Oven Roasted Chicken
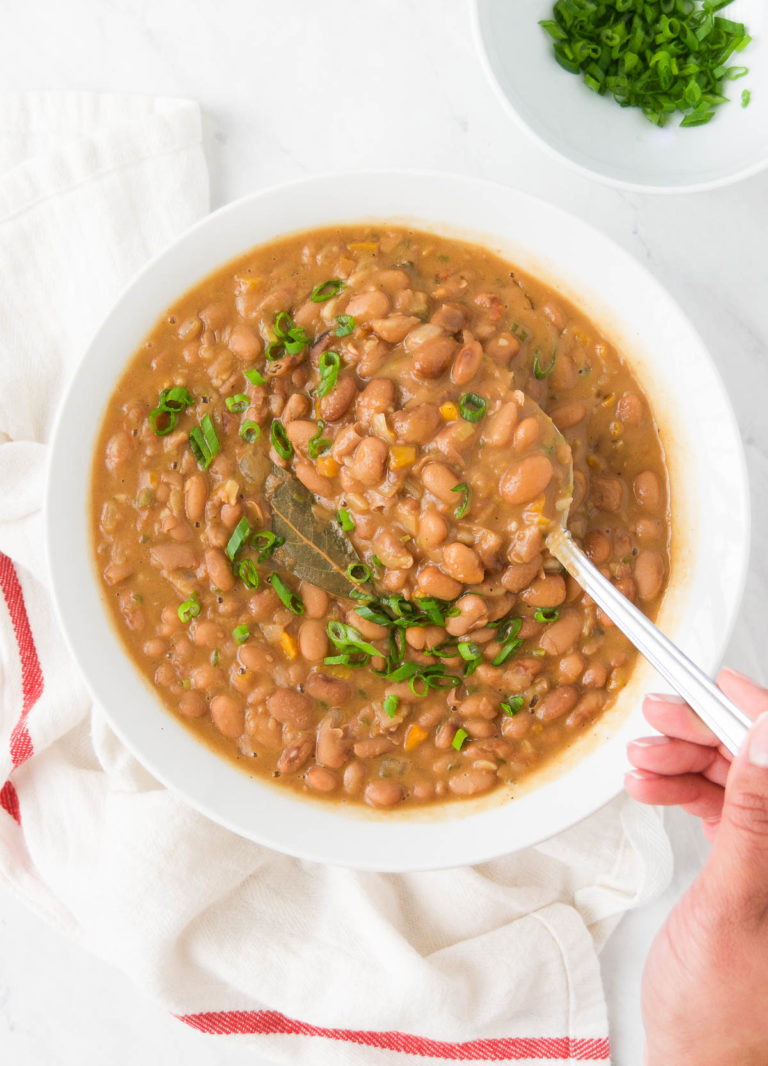
Make this a complete Roasted Brazilian Chicken experience by serving it with some of these classic fixings:
Or you can serve this Oven Rotisserie Chicken with either one of these salads. Just make sure to ALWAYS include the farofa!

Other chicken recipes you’ll love:
Love this Rotisserie-Style Brazilian Chicken? You’ll adore the following chicken recipes, too…
- Brazilian Stew Chicken Recipe
- Brazilian Chicken Seasoning (Tempero Em Pó Para Frango)
- Salpicão de Frango (Brazilian Chicken Salad)
- Canja de Galinha Recipe – Brazilian Chicken and Rice Soup
- Baked Chicken Legs
- Grilled Spatchcocked Chicken
- Brazilian Chicken Stroganoff
- How to Pan Sear Chicken Breasts
FOR MORE BRAZILIAN FOOD INSPO, BE SURE TO FOLLOW ME ON

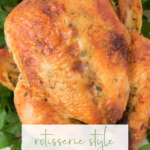
Rotisserie-Style Brazilian Chicken
Ingredients
- 1x 5lb whole chicken
- 1 bunch of parsley leaves about 1/2 cup to a cup
- 2 tablespoons onion powder
- 1 tablespoon garlic powder
- 1.5 tablespoons kosher salt
- 1/2 teaspoon of ground achiote pepper (optional)
- 1 teaspoon ground paprika
- 2 teaspoons of dry oregano
- 1/2 tablespoon sugar
- 1 tablespoon olive oil
- 1/2 cup water
- 1 lime, juiced
- ground black pepper to taste
- 1 tablespoon butter
Instructions
For the Marinade:
- Add all ingredients, except for the chicken and the butter to a food processor and pulse to combine.
- Place the chicken in a dish and discard the bag with giblets from inside, if any, the cavity and remove any excess fat and leftover feathers.
- Pour the marinade over the chicken, and using your hands rub it under the skin and inside the cavity.
- Put the chicken and all the marinade inside of a ziplock bag, or bowl, and let it marinate in the fridge for 4 hours, preferably overnight.
For Roasting:
- About an hour before you intend to roast the chicken, remove it from the refrigerator, discard the marinade, and pat the chicken dry with a paper towel. Liberally season it with salt and pepper inside the cavity, and under the skin.
- Preheat oven 425F.
- Place a roasting rack in a baking tray or roasting pan, and place the chicken breast-side up on top of it. Brush the outside of the chicken with the butter and sprinkle again with salt and pepper.
- Tie the legs together with kitchen string and tuck the wing tips under the body of the chicken.
- Place the roasting pan in the oven with the chicken legs towards the back of the of the oven.
- Roast for 30 mins, then rotate the chicken to now have breasts side towards the back of the of the oven, and reduce the temperature to 400F.
- Roast another 30 minutes, and rotate the chicken again to have the chicken legs towards the back of the of the oven, and reduce the temperature to 375.
- Roast about 15-30 minutes (depending on the size of your bird) until juices run clear when you cut between the leg and thigh, or when the internal temperature reaches 175-180F when inserted in the thigh.
- Remove the chicken and let it rest about 20 minutes before carving.


I’d never successfully made a rotisserie-style chicken before this recipe, and oh my word, this is SO GOOD. My kids LOVED it, and so did we! This will be added to our menu again in the near future!
That’s great, Ellie!! Thanks for sharing 🙂
This chicken was fantastic. I used a slightly smaller bird and cooked it on the rotisserie spinner in my air fryer. Came out perfectly and the flavor was beyond delicious!
This may be my favorite Rotisserie-Style Chicken recipe I’ve ever tried. The parsley leaves add such a great flavor, and the lemon juice really helps to bring out their bright, fresh taste.
This was my first time marinating a whole chicken and it was really worth the wait time. It turned out so juicy and tender, with perfectly crispy skin!
Thank you – This chicken recipe is the bomb! Juicy, tender, and utterly delicious. Can’t wait to make it again!
I just made this chicken for our dinner, and it turned out so good! It was juicy and flavorful, plus the whole family enjoyed it! I will be making this again!