Dry Brine Spatchcock Turkey
This dry brine spatchcock turkey recipe will give you a juicy, delicious turkey. It’s an easy recipe that features simple spices and seasonings you probably already have at home, too. It’s so simple and so incredibly flavorful, you’ll never want to prepare a turkey any other way—especially if you combine this brine with this compound butter at the time of baking. Don’t feel like baking your turkey? That’s OK! You can also use this dry brine recipe to prepare your spatchcock turkey for grilling or smoking!
If you need help spatchcocking your turkey, check out instructions (with VIDEO) here!
Why I love to dry brine turkey:
If your turkey isn’t brined, it’ll be dry. The end.
I said what I said, and the only question remaining now is to dry brine or to wet brine? Decisions, decisions!
While they’re both great ways to tenderize and pack tons of flavor into meat, dry brine and wet brine work very differently.
So for today, we’ll focus on dry brining a turkey.
I’m just a huge fan of dry brining turkey. It makes the bird so much more flavorful than wet brining because your seasonings are right there in direct contact with the meat, and there’s nothing to “dilute” it.
And if your bird is spatchcocked, it’s all the better because you’ll have even more surface area to spread your dry brine on. You can reach the whole back of the breast a lot better, ensuring it’s properly seasoned, AND you can lift a whole lot more skin to spread dry brine beneath so it’s directly on the flesh.
Plus, dry brining is far easier and more manageable, too, because you don’t have to make three times the amount of space in the fridge to store a huge and heavy bucket full of liquid that can potentially spill. (Believe me, I’ve seen it happen, and… it’s not the prettiest). So, if you’re new to brining or cooking a turkey, this is the method I recommend.
All in all, dry brining, if done correctly and for the correct amount of time, yields a very juicy and moist turkey.
So, let’s just get to it!
What is a dry brine?
Brining is a cooking method where you soak large cuts of meat in a salt water solution. This solution can also include other flavorings that help tenderize, keep moisture in the meat, add seasoning and allow the salt and the other flavors to penetrate the flesh. Because the meat is completely submerged in liquid, this method is known as a wet brine.
Dry brining does the same thing, except instead of submerging the meat in liquid, you rub it with salt and other seasoning and let it marinate for a period of time.
Wet brining and dry brining can take about the same amount of time, but they produce different results.
I prefer dry brining on a turkey because you tend to get crispier skin because the skin wasn’t completely soaked in liquid.
For that same reason, a dry brined turkey also cooks much faster. Because when you wet brine, some liquid is absorbed by the meat (and skin), and while this helps the meat to stay moist, you will need to cook off the excess moisture inside. (This is why you might see cooking instructions for wet brined birds at really high temperatures. Because they’re so “wet,” they can withstand allllll the heat from the get go.)
With dry brine, we don’t have excess moisture to cook off, so it cooks faster.
I also love how much more flavorful the turkey is since the seasonings can be applied directly onto the meat. It has so much more punch compared to more subtle flavors of a wet brine.
Ingredients:

Brazilian Kitchen Abroad is a participant in the Amazon Services LLC Associates Program, an affiliate advertising program designed to provide a means for us to earn fees by linking to Amazon.com and affiliated sites.
- 1 Spatchcock Turkey—In this recipe, I used a 10-pound bird (if you need help, I walk through how to spatchcock a turkey in this post). If you have a larger bird, double the dry brine recipe accordingly. Also, if you want to keep your turkey whole instead of spatchcocking it, that’s fine… just note that cooking instructions will be different.
- Kosher salt—it’s very important that you use the right salt (I only use Diamond Crystal) to avoid major discrepancies. The rule is, roughly 1 tablespoon of kosher salt per each 5 pounds of meat in a dry brine. So in this recipe, we use 2 tablespoons for the 10 lb. turkey. If your bird is 15 lbs., you’d use 3 tablespoons, and so on and so forth.
- Smoked paprika—this adds a sweet smoky taste.
- Ground achiote pepper—this is optional, but I love it because it amps up that orangy-red color.
- Dried thyme
- Dried oregano
- Onion powder
- Garlic powder
- Cracked black pepper
- White wine or a combination of wine and orange juice (even water to keep it simple) to pour into the baking sheet to avoid drippings from burning and to keep moisture in the oven (which will keep your turkey juicy as it bakes).
You’re also going to need a few tools to make and roast your dry brine spatchcock turkey:
- A large rimmed baking sheet with a rack (Preferably 2 – one for the brining process, and another for baking)
- A bowl
- A boning knife
- A meat thermometer
How to dry brine a turkey

TIP: Before you get started on this dry brine spatchcock turkey recipe, make sure you have space in your refrigerator. Since this dry brine turkey recipe takes 1-3 days to brine, you’ll need to keep it in the fridge that long.
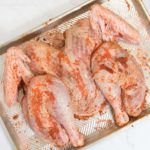
In a small bowl, measure in the kosher salt, smoked paprika, ground achiote pepper, dried thyme, dried oregano, onion powder and garlic powder. Whisk to combine, and set aside.
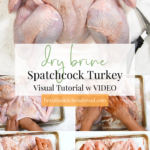
Once you’ve spatchcocked your turkey, lift the skin with your hand and use a boning knife to pierce the flesh under the skin on both sides of the bird (as shown in the image above and in the video).
This will help the flavors penetrate in the thick parts of the meat.
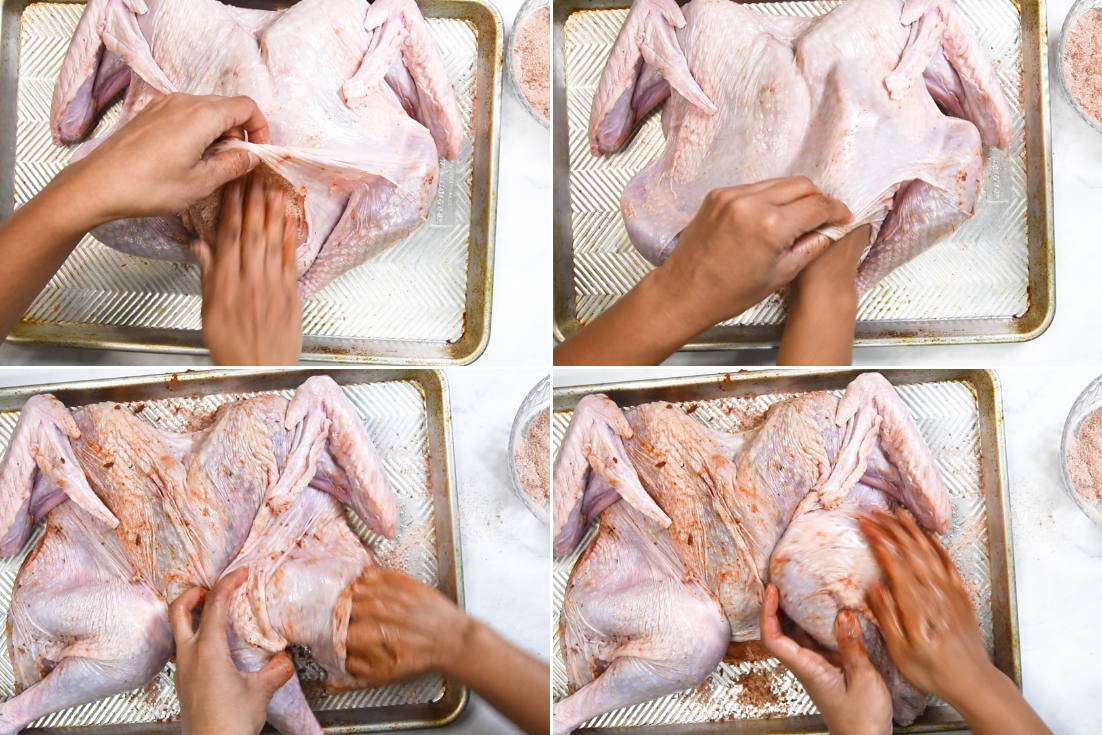
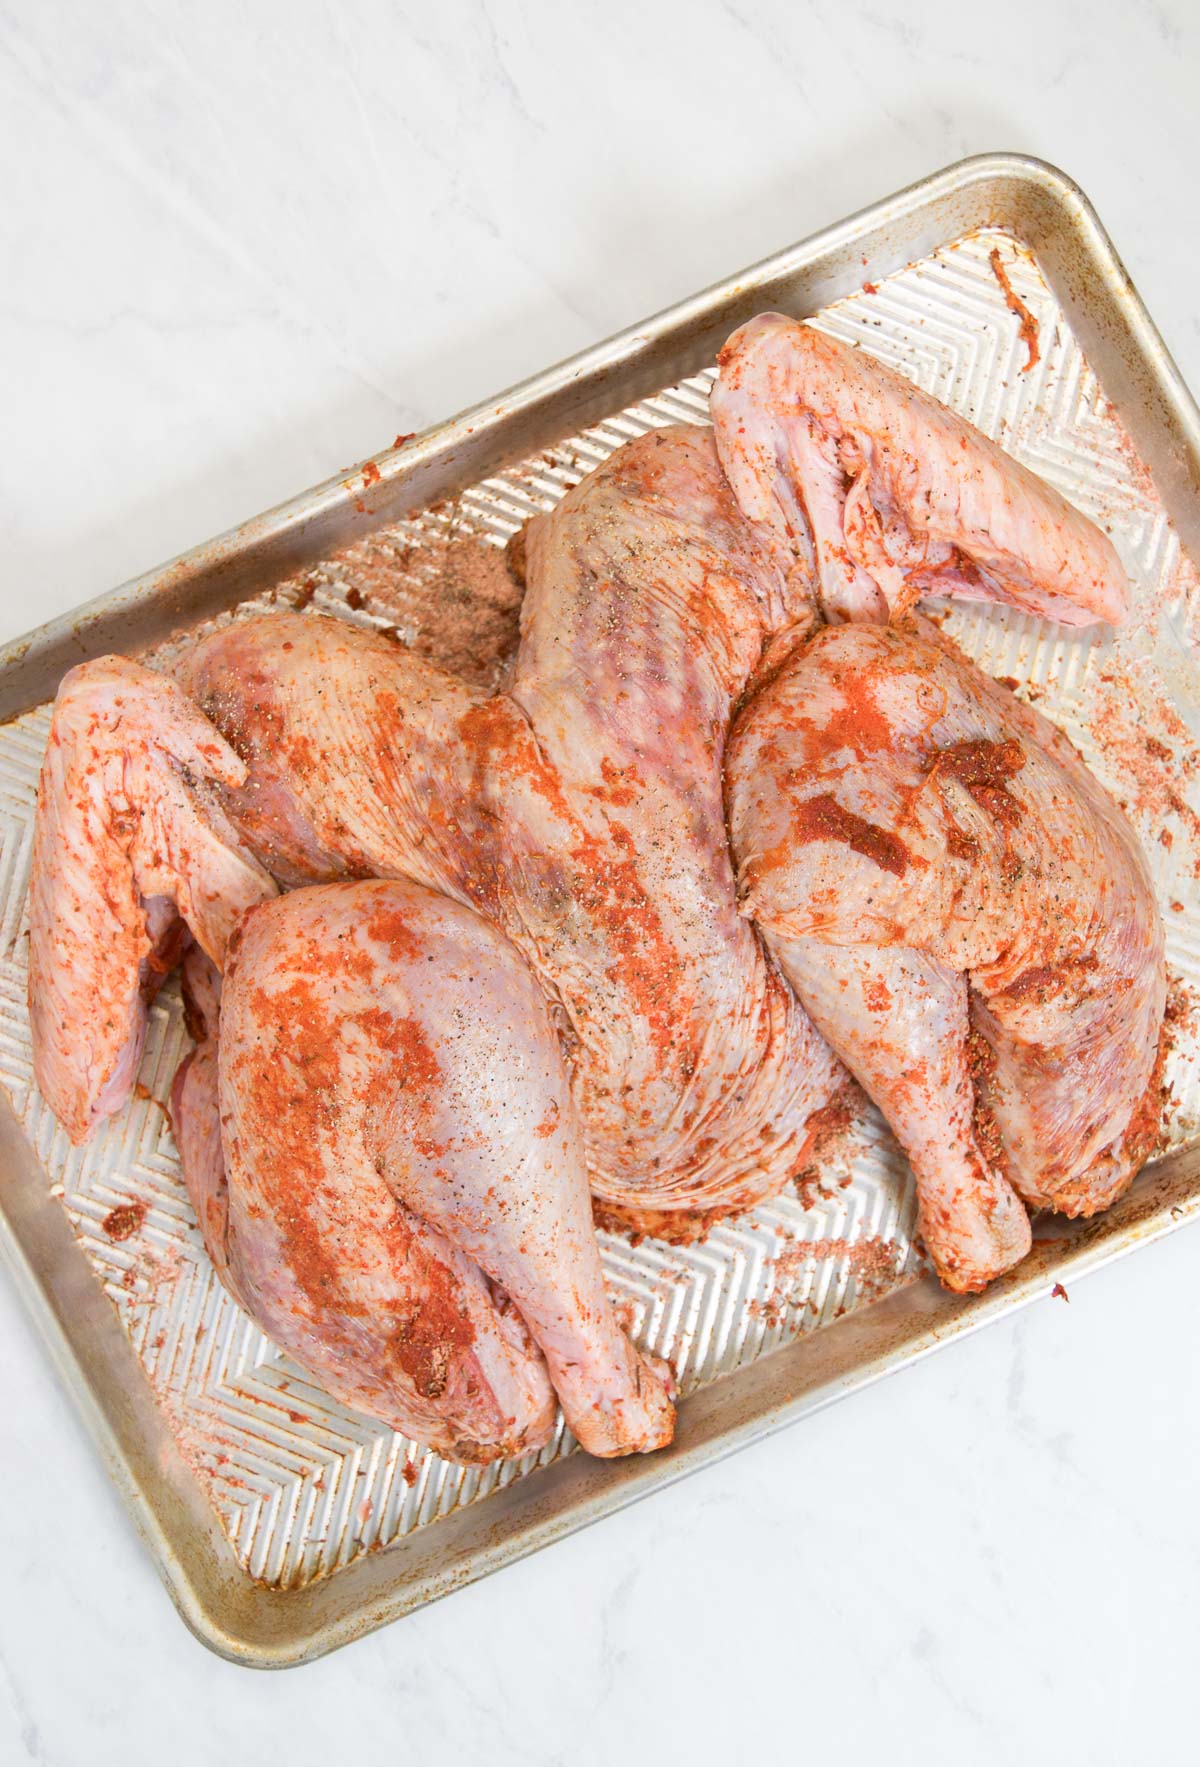
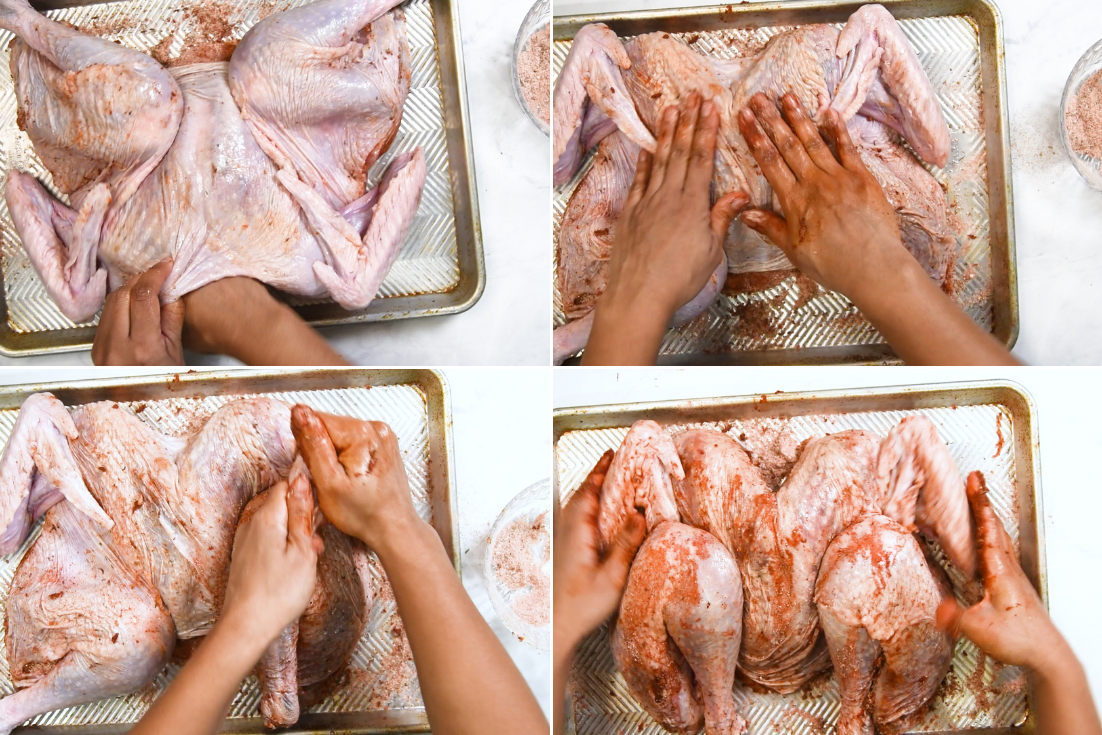
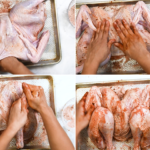
Use your hands to spread the dry rub mixture all over the turkey.
You want to rub it on the skin itself, as well as gently slide your fingers beneath the skin to spread the mixture evenly across the meat, too.
This will ensure that everything gets that wonderful flavor, and the flavor can soak into both the skin and the meat itself.
How long do I dry brine a turkey?
Let the turkey dry brine no less than 24 hours, and up to 3 days with the turkey breast side up in the refrigerator.
I cover it with plastic wrap the first day to day and a half, then I uncover it the remainder of the time. That is because I want the skin to be extra crispy, so leaving it uncovered starts to dry the skin as it brines.
If you’re going to dry brine your bird for just 24 hours, refrigerate uncovered so that the skin can begin to dry out.
Bake
Remove the turkey from the fridge at least two hours before you intend to cook it, because it’ll cook more evenly if it’s not cold from the refrigerator.
Place it on a rimmed baking sheet with a rack like this one to ensure heat circulates properly around the turkey to cook it more evenly and efficiently.
This is also when I smudge this delicious compound butter both on the skin and underneath it. This adds in more delicious flavors, as well as adds extra fat, which also helps the meat stay moist. It also helps to crisp up the skin!
You’ll want to preheat the oven to 375F for at least an hour so it’s piping hot to efficiently cook your turkey.
Then, just add about a cup of liquid to your baking sheet before you pop it in the oven to prevent drippings from burning. You can add wine, or a combination of wine and orange juice – even water to keep it simple! Doing this will also keep moisture in the oven, which will keep your turkey juicy as it bakes.
If you don’t want to bake your turkey, you could also use this dry brine recipe to grill or smoke it!
How long to cook spatchcock turkey?
The cooking time is going to be dependent on the size of your turkey.
My 10lb spatchcock turkey cooked in about an hour and fifteen minutes. But, depending on the size of your turkey, it may take longer. It’s safe to assume about 7.5 minutes per pound of meat at this temperature.
Turkey is safe to consume at 165F for both thigh and breast. You can cook it until an internal thermometer reads 155-160F on the breast and 160-165F on the thighs, because residual heat should continue to bring the temperature up as it cools—usually by 5 to 10 degrees, assuming you didn’t put cold meat in the oven.
If you’re nervous about removing it before it hits 165F, just wait until the breast meat reaches 165F to remove the turkey from the oven. While it cools, the temperature will probably get to 170 or so, but the meat will still be juicy. Just note that, according to USDA, turkey meat is safe to consume as long as it’s reached 150F for at least 3.7 minutes.
When your turkey is finished roasting, remove it from the oven, and let it rest. I let it rest well over an hour before carving because this helps the juices stay in, and keeps the meat moist.
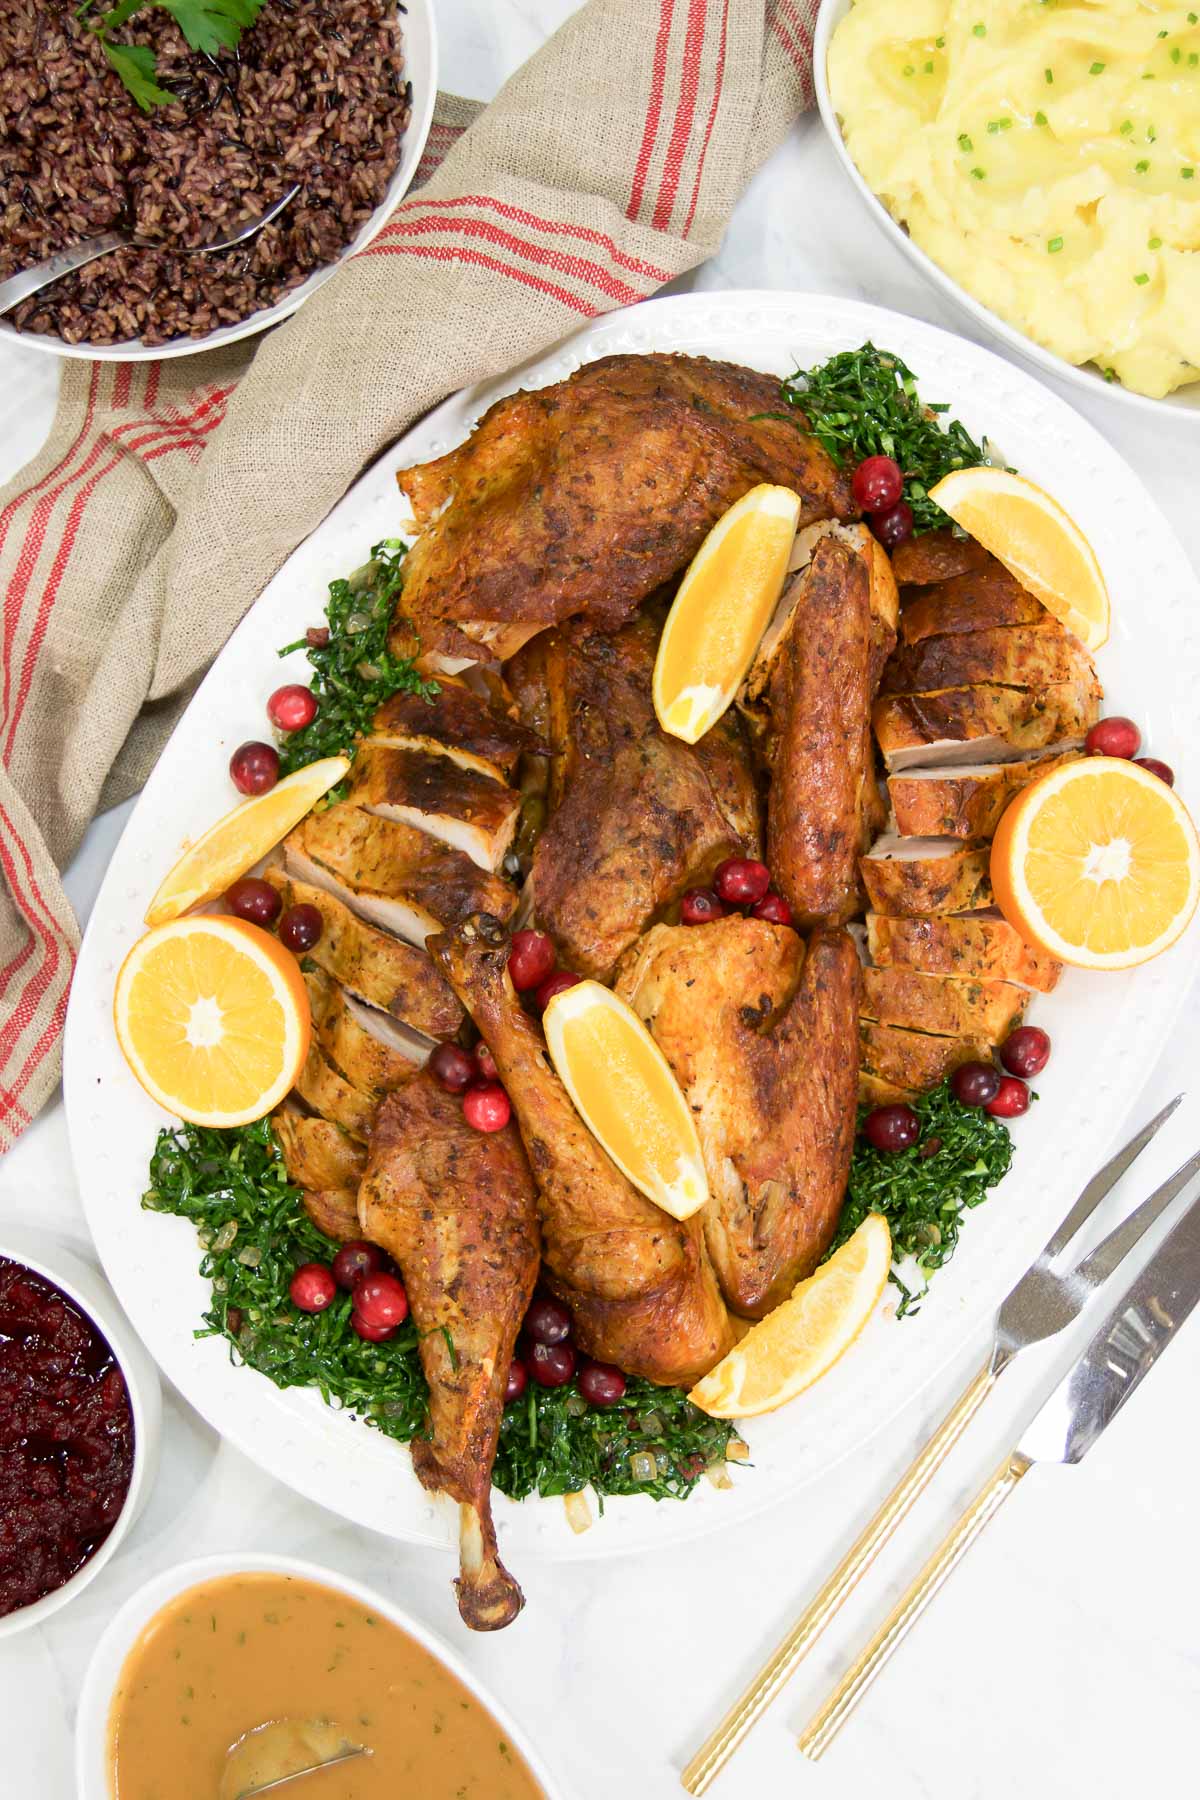
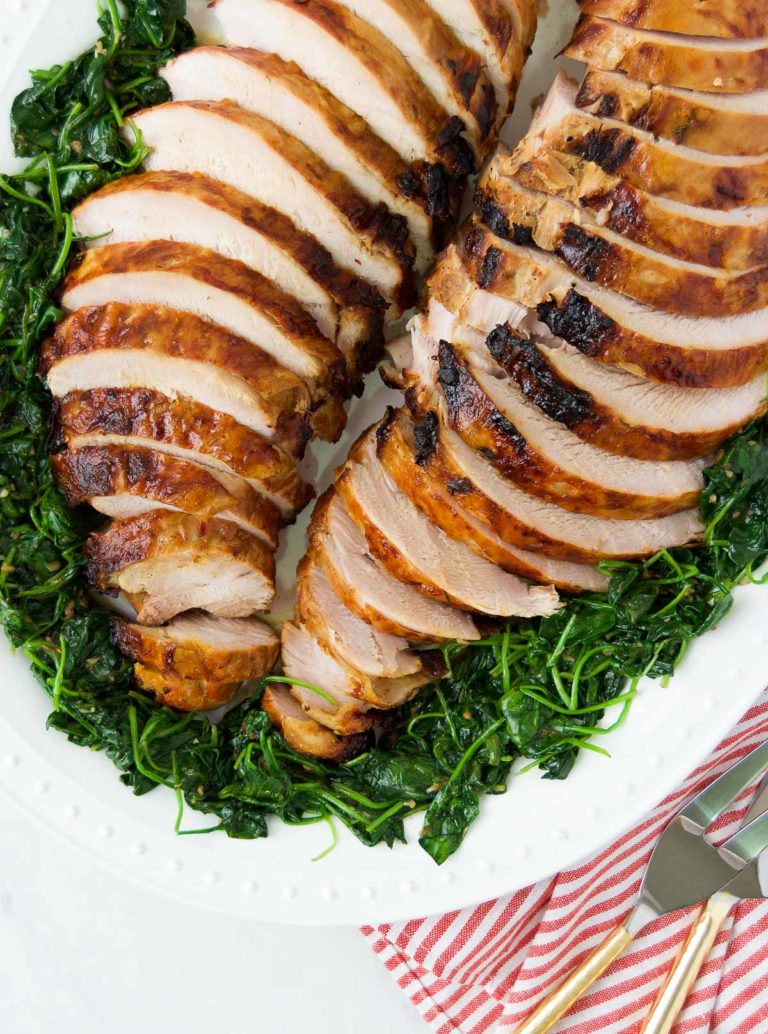
Make it look pretty
Carve your beautiful turkey and plate it – Check out how I carve a spatchcock turkey here!

How to garnish and display it:
I like to add some greens to my platter to add contrasting colors.
My go-to greens are these sauted Brazilian Collard Greens with Bacon because they’re easy to make and they’re a delicious side dish. You could also use this recipe and sub out kale or shredded brussels sprouts instead of the collards if you prefer.
OR you can make nothing at all and simply throw fresh parsley or some arugula onto the platter with your bird and call it a day.
I also like putting some oranges and seasonal fruits like apples, cranberries or pomegranate pieces because they, too, add a beautiful pop of color. It’s such a simple way to take your turkey platter to a whole new level!
And remember! When you’re all done, don’t throw these bones away—save the bones to make this easy instant pot turkey stock recipe! You can freeze it and enjoy delicious nutritious turkey broth all year long!
Frequently Asked Questions
It depends on the recipe. This recipe takes 1-3 days, so plan accordingly.
Yes. When you over brine a turkey, it’s overly seasoned, salty and dry.
It depends on the size of the meat. Generally speaking, we should add 1 tablespoon of kosher salt for every 5 lbs. of meat.
This is personal and up to you. Personally, I think dry brine for turkey is excellent and yields a flavorful bird in less time.
What to serve with this dry brine spatchcock turkey:
- Brazilian Christmas Rice
- Walnut Rice
- Instant Pot Brown Rice
- Cachaca Cranberry Sauce
- Brazilian Collard Greens with Bacon
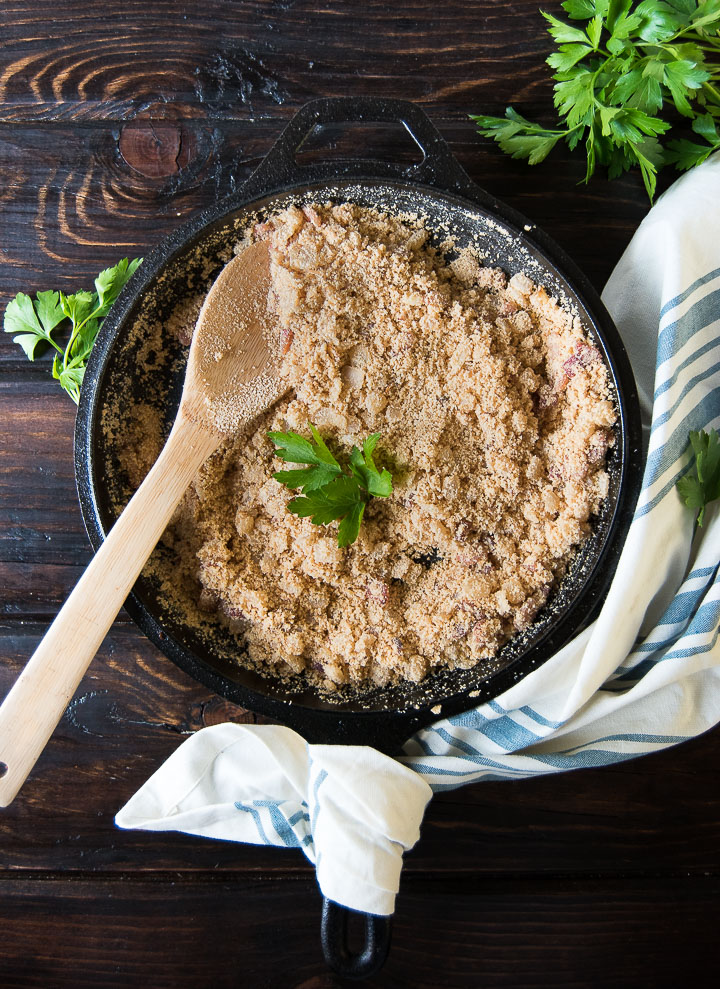
- Farofa – Toasted Cassava Flour
- Instant Pot Garlic Mashed Potatoes
- Air Fryer Butternut Squash
FOR MORE BRAZILIAN FOOD INSPO, BE SURE TO FOLLOW ME ON

Dry Brine Spatchcock Turkey
Ingredients
- 10 pound turkey, preferably spatchcock thawed, if frozen
- 2 tablespoons of kosher salt
- 1 tablespoon of smoked paprika
- 1 teaspoon of ground achiote pepper optional
- 2 teaspoons of dry thyme
- 2 teaspoons of dry oregano
- 2 tablespoons of onion powder
- 1 tablespoon of garlic powder
- cracked black pepper to taste
- 1 cup white wine or a combination of white wine and orange juice or water
Instructions
For the Brine
- Add all the ingredients, except for the turkey, to a small bowl and whisk to combine.
- Gently lift the turkey skin with your hand and use a boning knife to pierce the meat on both sides of the bird.
- Use your hands to spread the dry rub mixture all over the turkey. You want to rub it on the skin itself, as well as gently slide your fingers beneath the skin to spread the mixture evenly across the meat, too.
- Let the turkey brine in the refrigerator no less than 24 hours, and up to 3 days.
- I cover it with plastic wrap the first day to day and a half, then uncover it the remainder of the time – uncovering helps the skin be extra crispy, because it starts to dry as it brines.
Bake
- Remove the turkey no less than two hours before you intend to cook it, and place it in a large rimmed baking sheet with a rack.
- Then, preheat the oven to 375F for at least an hour.
- Add the white wine to your baking sheet before you pop it in the oven to prevent drippings from burning.
- Bake until an instant read thermometer registers 165F on both the thickest part of the leg and on the breast.
- Let it rest well before carving.


You gave some great tips that I needed for success. It was delicious!
I mistakenly believed that wet brining would result in a more moist turkey, but to my surprise this dry brine works just as well! I loved the crisper texture of the skin. Thank you!
This recipe is a winner! The whole family enjoyed it! And what I loved about your recipe is that it was so juicy and delicious that it made me crave for more! This recipe is a must-try!
So I am a person who wants to be PREPARED for Thanksgiving – This recipe was spectacular! That brine really helped the turkey stay moist. Thanks for the fantastic tips!
This turkey turned out really good ! I was kind of nervous making this the first time but the instructions were clear and straightforward.
This turkey was SPECTACULAR last year at Christmas and so much easier than roasting a whole turkey. We’re going to give this a go for Thanksgiving, and I cannot wait to eat it again.