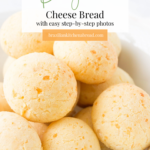
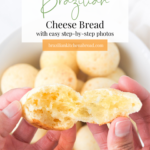
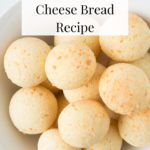
Pão de Queijo – Brazilian Cheese Bread Recipe
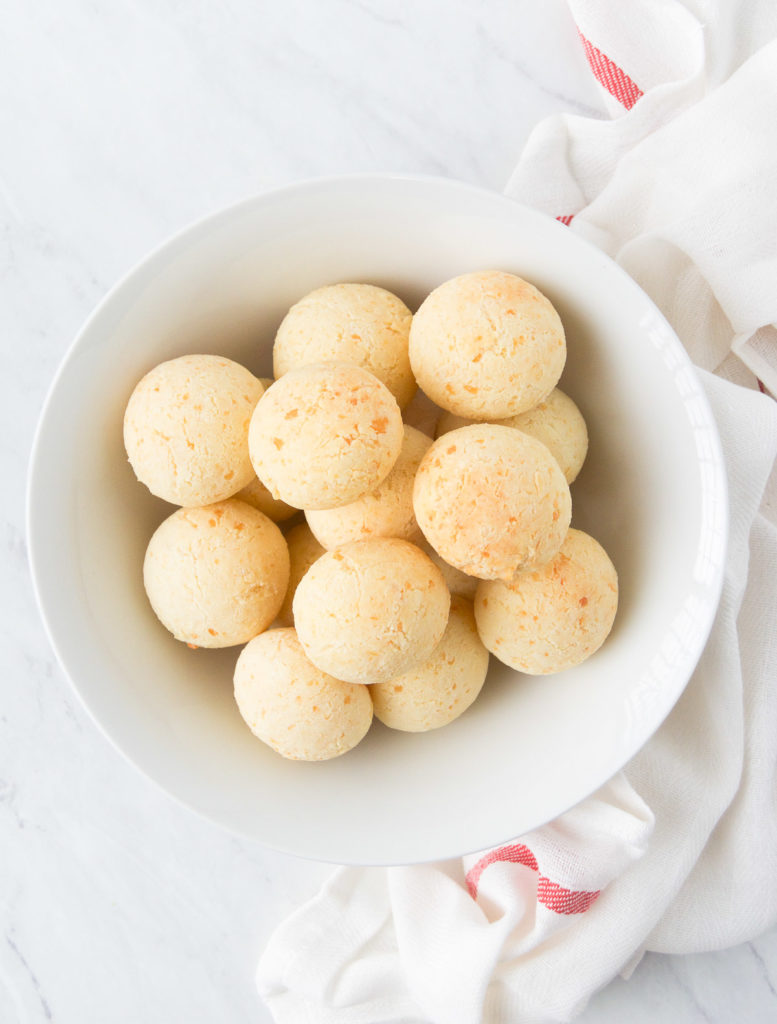
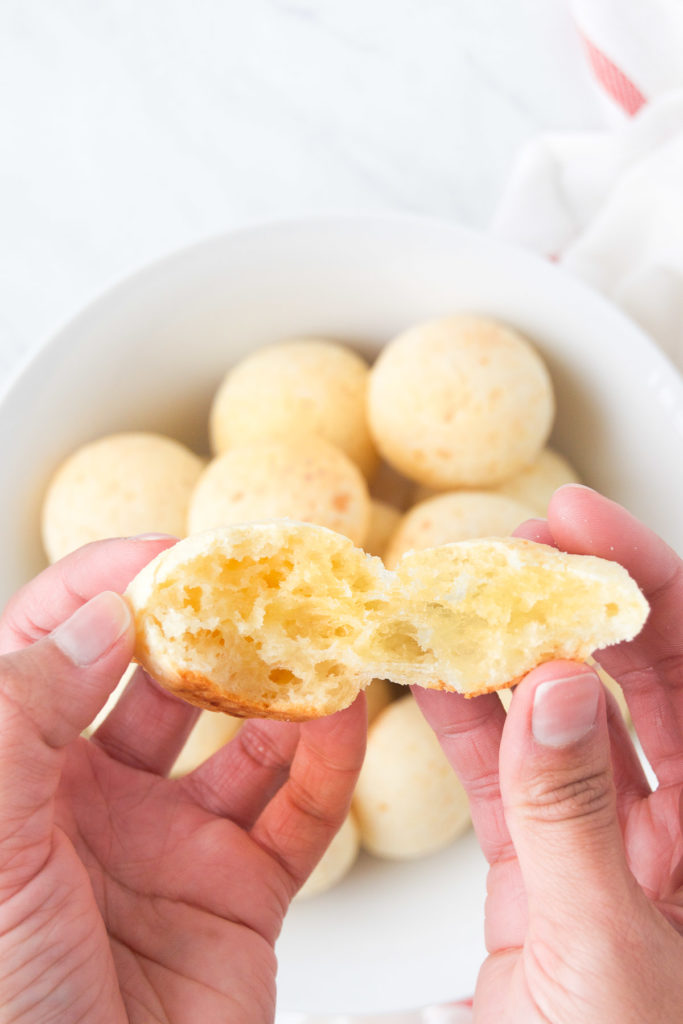
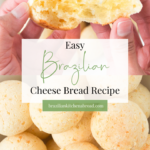
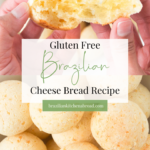
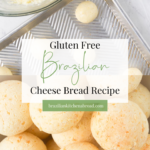
Brazilian cheese bread, or pão de queijo as we call them in Portuguese, are a true gift to the universe! This typical Brazilian snack is lightly crunchy on the outside, soft and chewy on the inside, and has a cheese flavor that just hugs your mouth. This Brazilian cheese bread recipe is easy to make and yields about 30, so you can make a stash for now, and freeze the rest for later. Check out the easy step-by-step below!

Yuca Series Post 4 – Brazilian Cheese Bread Recipe
Oi Gente!
Welcome back to another post on our yuca series. To catch you up, so far we’ve talked about how to work with whole yuca, and how to make crispy yuca fries and creamy mashed yuca. Then, we talked about the difference between yuca flour and yuca starch and I showed you how to make farofa, one of the most important Brazilian side dishes.
This time, our main ingredient is the yuca starch, just what we need for for our pão de queijo Recipe.
Where did the Pão de Queijo recipe come from?
Ok, so, as most Brazilian things, the real origin of these yummy cheese bread is unknown. It’s believed that they became a thing around the 18th century in the state of Minas Gerais, which totally makes sense, since production of milk and cheese is higher in that state. Anyway, the other important thing to note is, at that time, Brazilians had long mastered processing yuca into different forms, including flour, while processing wheat flour in the other hand wasn’t a thing then.
Looks like wheat flour wasn’t really produced locally until the beginning of the 20th century. So, if wheat flour was even to be considered for making Brazilian cheese bread, people at the time would have had to rely on flour imported from Europe. And in 18th century Minas Gerais that would have been… complicated. Also, apparently, the quality of the wheat flour coming from Portugal wasn’t the best to begin with, so, that didn’t really play in favor of wheat as a first option anyway. Too hard to get, too low quality.
With that, Minas’ savvy locals, decided to do the logical thing and stick to the better, local ingredient *drum roll*, yuca starch. Yuca startch is what we call, polvilho, which you might know as, wait for it…. tapioca flour! And just like that, with a little bit of milk, a little old/hardened cheese, and some eggs the pão de queijo recipe was born.
Brazilian Kitchen Abroad is a participant in the Amazon Services LLC Associates Program, an affiliate advertising program designed to provide a means for us to earn fees by linking to Amazon.com and affiliated sites.
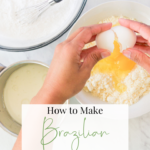
How to Make Brazilian Cheese Bread
Good News Alert!!! You can buy tapioca flour pretty much anywhere. I usually buy mine at Whole Foods, but I have seen it in other grocery stores here in Los Angeles as well. And remember, when in doubt, Amazon!
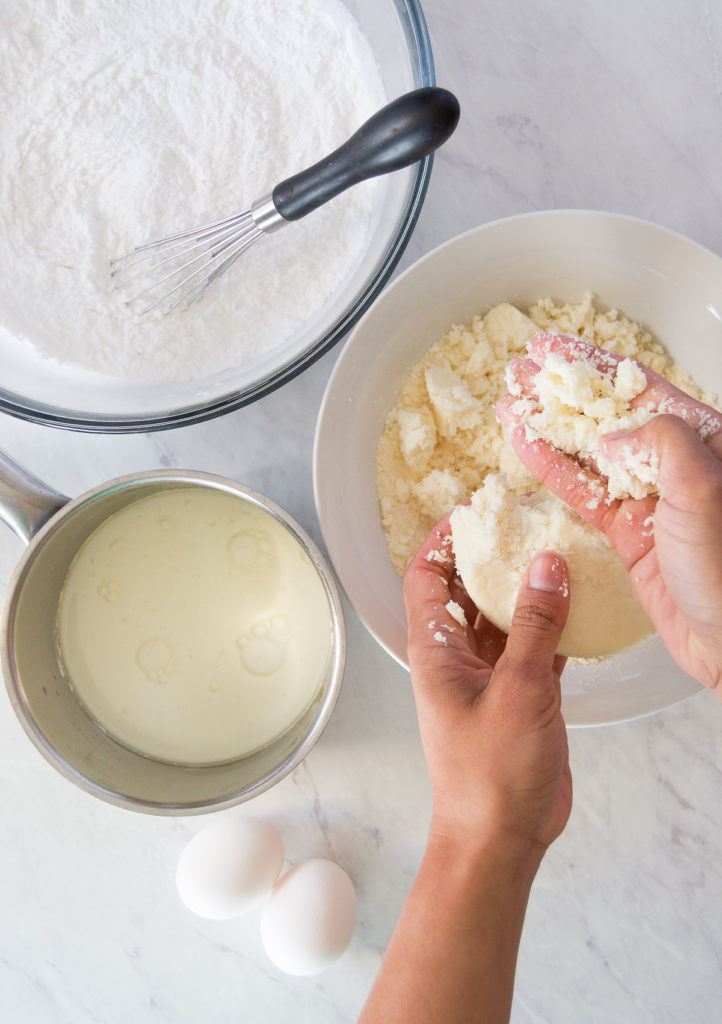

This recipe is super easy. We’ll start by whisking together the tapioca flour and the salt in a bowl, then, in another bowl, we’ll combine the cheeses and the eggs. All measurements and quantities are in the recipe card at the bottom of the post.
Now on to some technical steps:
Step 1 – Simmer the milk and the oil, then pour it hot into the bowl with the tapioca flour.
Step 2 – using a wooden spoon, mix it to combine. You’ll notice that the mixture will not be homogeneous, it’ll be gummy and clumpy, which is totally normal. At this point, we need to let that mixture cool off a bit, about 10-15 minutes. If you add the cheese and egg mixture to the hot tapioca, the cheese will melt, the eggs will cook and curdle, and we want none of that.
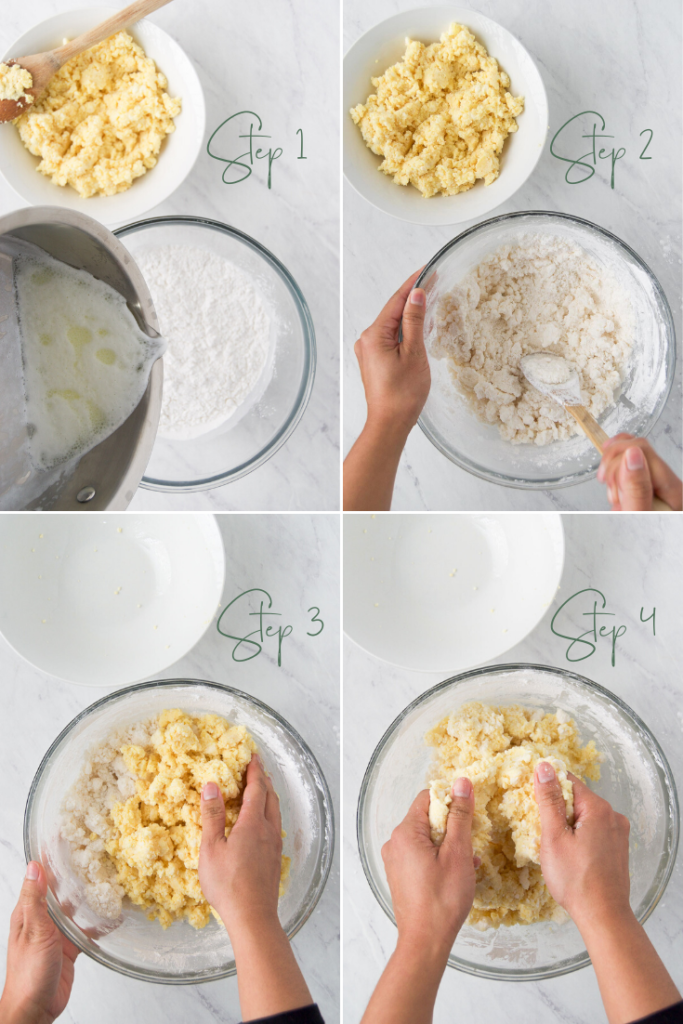
Step 3 – After the tapioca mixture cooled off, you can go ahead and mix it with the cheese and egg mixture.
Step 4 – Keep mixing and massaging it until you have a homogeneous mixture that comes together as a ball. You’ll still see some white tapioca specks in the dough – don’t worry, that’s also totally normal!
Time to roll your Brazilian Cheese Bread!
Step 5 – Oil your hands!
Step 6 – Scoop about 2-Tbsp size portions into your hand. I use a 2.5 tbsp scoop to get the same size portion every time, which isn’t just for a perfect look. This helps them bake more evenly, too! I like to also give the dough a little squeeze, to make sure there aren’t any dry/unmixed spots inside. Those little unmixed pockets will break the balls as you try to roll them, and that’s a bit annoying.
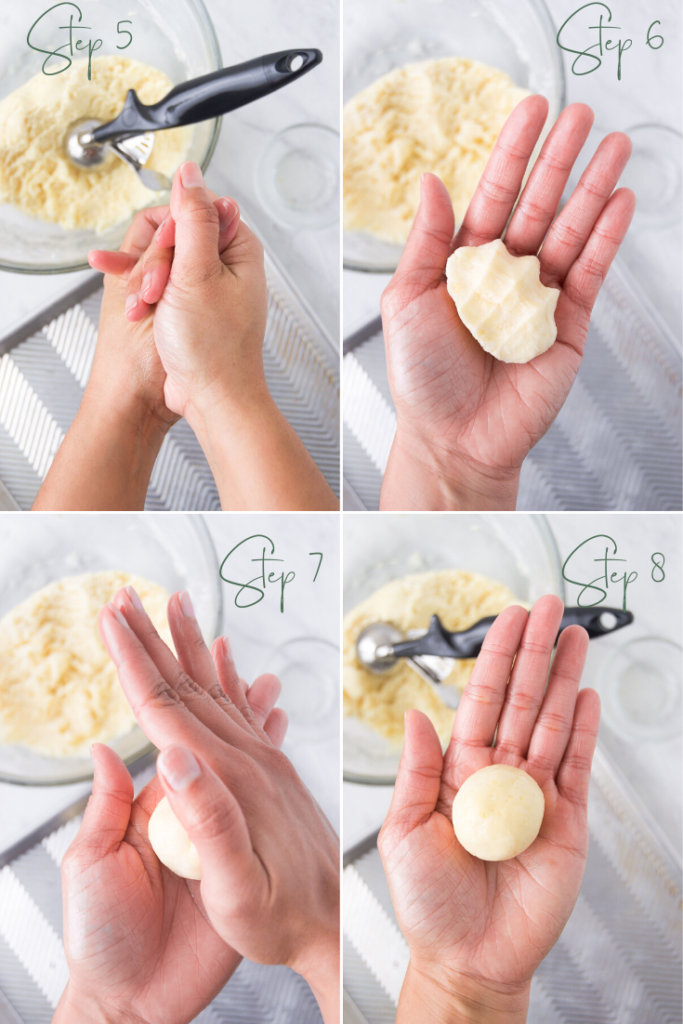
Step 7 – roll, roll, roll!
Step 8 – Ta-da! A perfect little ball!!
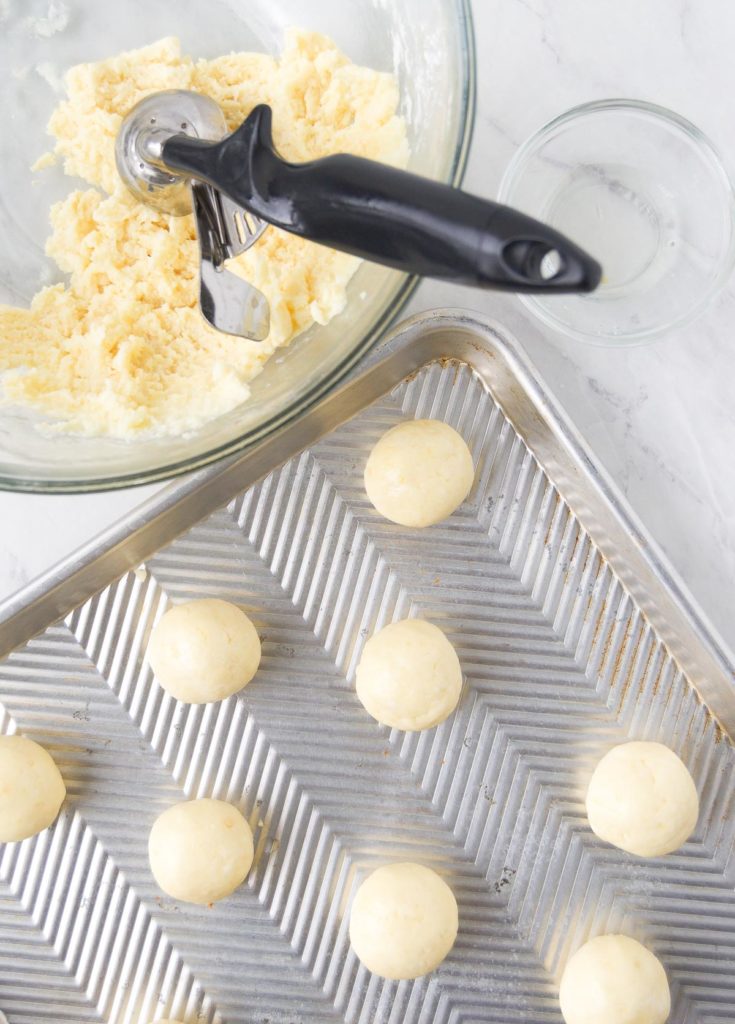
Ok, now, this isn’t ideal, BUT, if you’re feeling a little too lazy to hand roll the little balls, there’s a way around it. You can just use an ice cream scoop and scoop the dough directly into the baking sheet.
However, you can see from the photo below they don’t come out smooth. This, plus the absence of the oil from your hands that would coat the outside of the breads if you were to hand roll them, causes them to bake a little more ‘rough.’ This also makes them get crispier outside, too. So yeah. Can you do it? Yes. Is it great? Not exactly.

Hand Rolled! 
Just Scooped!
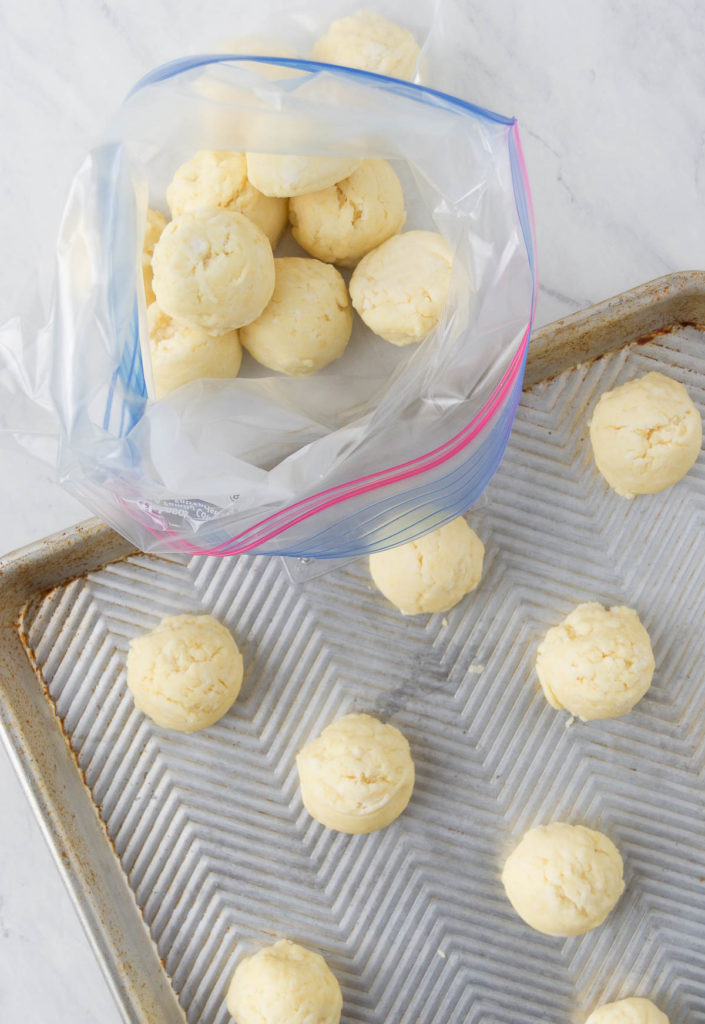
Prepare your Brazilian Cheese Bread recipe to bake or Freeze
To freeze. Arrange the little pão de queijo balls in a baking sheet side by side. Then, pop the baking sheet in the freezer so the cheese breads can start to hold their shape. After about 10-15 minutes you can just place them into ziplock bags and freeze to bake later.
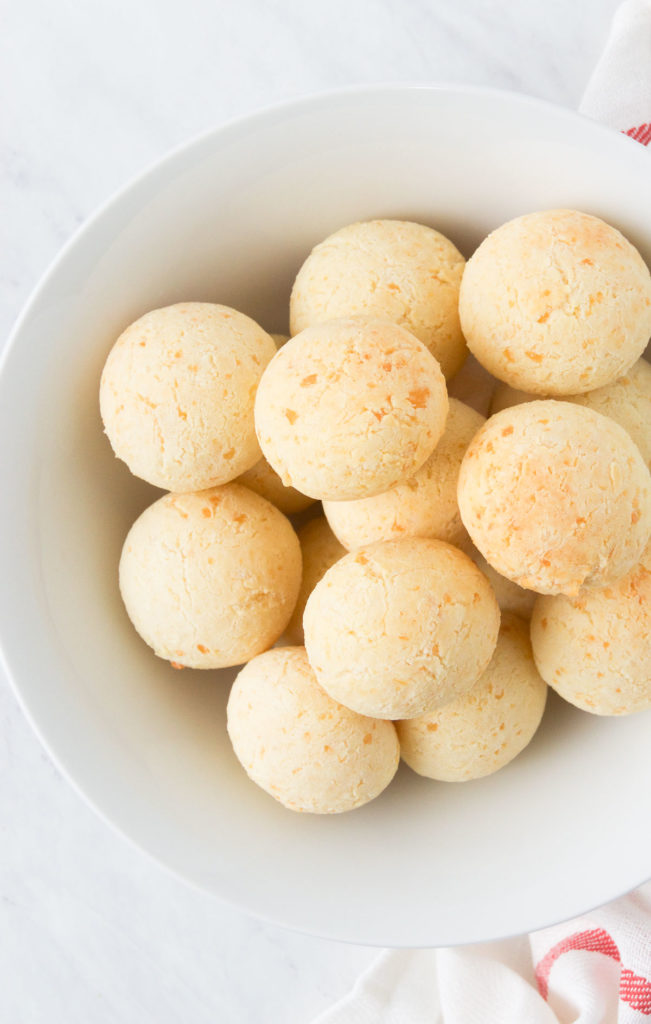
To bake. Just arrange your perfect little balls (or your lazy scoops) in a baking sheet approximately 2″ apart from one another to allow for air to circulate around them while they bake. Bake in a preheated oven until they’re lightly golden and enjoy!
These Brazilian Drinks pair great with this pão de queijo recipe!
Batida de coco – Brazilian Coconut Cocktails
Other Brazilian Recipes You’ll Love:
BE SURE TO FOLLOW ME ON FACEBOOK, PINTEREST, AND INSTAGRAM FOR MORE BRAZILIAN FOOD INSPO!

Brazilian Cheese Bread
Ingredients
- 1 cup grated Parmesan cheese
- 1 10oz round of Queso Fresco, crumbled *see below for option
- 1 cup full fat milk
- 1/4 cup vegetable oil plus 1 Tbsp for oiling your hands
- 2 eggs
- 1 lb tapioca flour also known as tapioca starch
- 2 tsp kosher salt
Instructions
Prepare the Dough:
- Preheat oven to 350F.
- Add the tapioca flour and the salt to a large bowl, whisk to combine and set aside.
- In a medium bowl, combine the cheeses and the eggs and set aside.
- Add the milk and the oil to a small saucepan and bring to a simmer on stove top over medium heat.
- When the liquid simmers, remove the pan from heat, and immediately pour the hot liquid into the tapioca mixture and using a wooden spoon, stir to combine – the mixture will not be homogeneous, it'll be gummy and clumpy. See step by step images above for reference.
- Wait 5-10 minutes until the tapioca mixture is cool to touch, and only then add the cheese and egg mixture to the tapioca mixture. Mix with a wooden spoon, or your hands to combine. Now you should have a homogeneous mixture and it should come together as a ball. You'll still see some white tapioca specks in the dough – don't worry, that's totally normal!
Roll the Little Balls:
- Oil your hands, then scoop a Tbsp to 2Tbsp size portions, roll them into balls, and arrange them in a baking sheet approximately 2" apart from one another. *For freezing instructions see section below!
- Bake until golden brown, approximately 30-35 minutes.
Make-ahead Freezer Instructions:
- To freeze your Brazilian cheese bread for later, follow all steps up until rolling the little balls and placing them the baking sheet. Then, just place the baking sheet in the freezer for 15 minutes for the balls to set (just enough for them to hold their shape).
- When the balls are set, you can place them in a freezer safe ziplock bag and freeze for up to 3-4 months.
- To bake them, no thawing needed! Just preheat the oven to 350F, then arrange the little frozen balls in a baking sheet about 2" apart from one another and bake until golden brown – approximately 40-45 minutes.
![Savory Breakfast Muffins [Gluten Free]](https://braziliankitchenabroad.com/wp-content/uploads/2020/08/tapioca-muffins-3-768x1152.jpg)


YAAASSSS!!!! This is one I will definitely try and try again for perfection
hahaha yesssssss, Ev! Make it!!!! I always keep a stash in the freezer so I can have them all the time ahaha
This Brazilian cheese bread was so good. I loved the on-point instructions that you included. Next time I will make a double batch!
So smart, Heidi!! ahaha I do that all the time – love having the freezer stocked with them!
These are so incredibly delicious. We had a nanny from Brazil stay with us for a few years and she would make these. Amazing!
Never tried this before but it looks so good!!
I never tried Cheese Bread, but have heard how delicious it is. I will have to try your recipe! Thanks for sharing!
I was amazed at how easy these were to make! Thank you for the step by step photos. Definitely doubling and freezing next time!
Hey, Andrea! I’m glad you found the step by step helpful! And yes, freezing some is so smart!! This way you’ll always have some 🙂
I had never heard of these and I really feel like I have missed out! I make a lot of bread, so I must add these to my rotation!
This is the cutest bread recipe that I’ve ever seen! They look just as delicious too!
The crispy outside of this bread is really good, and the center is so soft and flavorful. My kids love this recipe and it is really easy to make!
Ahhh yay!!! So happy to know this is a family favorite, Ashley!! Tons of people tell me they have fun with their kids making these together!
I heard a lot about Brazilian cheese bread but never tried it. It looks absolutely delicious and I think it’s time to make it!
Sooo yummy! Will definitely make these again. And again.
Yay!!! So happy you like them, Heather!! They are a favorite in our house, too!
My husband loves Brazilian steak houses and his favorite item when we go is the “cheese bread!” It has the most delicate-melt-in-your-mouth texture and incredible flavor! I have made other attempts at baking these at home with little success at achieving that wonderful texture! This recipe gave me exactly what I was looking for! I plan to make a double batch to freeze them, so he can enjoy a few anytime he craves them! Thank you for the tips and terrific instructions…I know they made all the difference! What a beautiful people, culture, and food! It’s a shame more people don’t know about Brazilian foods, etc! Thanks again for sharing your knowledge! Very much appreciated!
You’re so welcome, Maria! I’m so happy you love the recipe and my people haha 🙂 Take care!
This recipe reminds me of our time in Brazil… So authentic and delicious thank you!
I’m so excited I came across this recipe! I love Brazilian cheese bread and am so happy I can finally make it at home. It’s so delicious for any cheese lover like me!
These look dangerously good! And as a bonus, they look quite simple to make, and with easy to find ingredients (I live in a small city and tapioca starch is super easy to get anywhere). Thanks for the step by step photos – it really helps for us first time bakers!
Okay, funny story time! We went to one of those Brazilian steakhouses where my husband had these for the first time. He ate so many he made himself sick.
Fast forward to today. I made them and he told me, “You need to be my pacer so I don’t overindulge again!” LOL!!
Another fantastic recipe!
ahahah! I totally understand overeating pão de queijo since they’re so so good!! I’m glad y’all liked the recipe and that he didn’t get sick this time LOL!
I’ve never heard of these but I’m so glad I have now! They look so good!
This Brazilian cheese bread is amazing!! It was my first time making them and they turned out delish! My boyfriend and I ate them all in one sitting! Lol
I love cheese bread and this recipe is amazing!!
Thank you, Katrina!! So glad you like the recipe!
There is a fish stew that I am wanting to try. These will go perfect with it!
oh, interesting combination, Christy! I hope you enjoy it 🙂
This bread is one of my favorite things, especially with some guava preserves!
Yes!! I love to add a little sweet spread to mine too!! So good!
I’m on the hunt for some tapioca flour right now so I can make these! We had them for the first time when we moved to S. Florida, and they’re truly addicting!
I love Brazilian Cheese bread and yours was so good! My whole family loved them and have already asked me to make them again. Your directions were so easy to follow..Thanks so much!
Awesome, Debbie!! So happy to know the pao de queijo was a hit with your family and that you’ll be making them again!! Thank you for the review!! <3
I’ve enjoyed PCB years , I mean years ago and , of course loved them!
So when I spied the recipe on the back of my Tapioca bag I though I’d give it a go
Meh… Not bad but not quite right
Sent me searching …
Yes oh yes indeedy!
Can’t wait to clear the k-table enabling me the work space…
I’ve freezer space and a clean linen lined basket awaiting the next batch to be made… The ones I made look more like popovers crossed with yorkshirepudding Since baking400* in ramekins because I no longer own muffin tins. Found them too awkward for stowage
So, thank-you
Abbrigado! 😉❤️
I could not be more excited to try a recipe!!!!!! I have been hoping you would make these and teach us!!! It’s my favorite thing about Brazil!! I need to source the flour and it’s on!!!
Love me some pao de queijo and these did not disappoint. I used 1% milk instead of whole and they still turned out amazing! The best part is I have a ton left in my freezer to enjoy later. Thank you for the recipe! I will definitely be using it again in the future.
Hi Lauren! So happy you liked the recipe!! Making this a big batch recipe was definitely a priority me for that very reason – so we can always have a stash in the freezer!! hahaha Beijos xx
I just made your recipe to the letter and I have to say that it came out FANTASTIC! I read over 7 recipes for the Brazilian Cheese Bread and I chose yours for how clear every step of the recipe was and the great tip of squeezing and oiling the hands to make the perfect balls. I also did not open the over until 1 minute was left just to make sure that I was not causing them to deflate. I turned off the oven at 30 minutes and pulled them out a minute afterwards. Perfect brown base and light brown top. PERFECT!
They are perfect in taste, consistency and I made 27 balls 18 baked and nine I froze.
My husband ate one and couldn’t believe how perfect they were! He had 3 before dinner! They were super out of the oven, but I placed them in a bowl covered them with parchment paper and two kitchen towels on top of the parchment. I just had another one and although room temperature the consistency is just the same. Thank you for the BEST RECIPE for this delicious bread!
Yessssssss!!!!!!!!! This makes me so happy!!! Thank you so much for your comment!
Hello Aline! Your recipe is DA BOMB!!!! Even I was able to make it. Haha I usually suck in the kitchen, but your recipe was so easy and so through. Thank you!!!
hahaha YAY!!! SO glad you liked the recipe!! Now that you feel confident, go on making other things, too!! lol beijos xx
Just made these are they are DELISH! I would recommend oiling the baking sheet to prevent sticking and skipping the salt. already enough salt from the parm.
Vivo en Costa Rica. Aquí tanto la harina de yuca & el almidón de yuca están fácilmente disponibles. ¿Cuál debo usar? Aquí, al menos, son productos muy diferentes. Gracias!
Hola, Jim! Si, verdad – son diferentes. En esta receta, debes usar el almidón de yuca. Besos!!
I spent a lot of time finding the perfect Brazilian Cheese Bread recipe. I was astounded by the variation in the amounts of ingredients and some recipes calling for a standing mixer. When I saw this recipe called for using your hands and the step-by-step pictures, I was sold. I’m so glad I chose this recipe over others. From ingredients to the technique, it’s a winner. Thank you, Aline! Mine turned out exactly as you had pictured. I’ve made this several times and learned only to reduce the salt by half (since the cheese does add enough saltiness) and that it is CRUCIAL to add the milk and oil mixture straight away to the flour and mix. I made the mistake of waiting for it to cool (I was going off of memory and forgot the cooling step was after you mix) and my bread did not rise, thus affecting its texture. I also admit to allowing the milk+oil do a bit more than simmer (boil) on 2 occasions, and as long as I immediately transfer as the recipe states, it turns out beautifully. When these come out, they impress!
Ahhh Candice!!! This warms my heart!! Thank you, sooooo soooo much for your thoughtful comment 🙂 I’m so happy you’ve been enjoying the recipe and find it perfect!!! YAY!!!
So good! and so easy!!! I got in a disagreement with my BIL because they use a mix his parents mail him from Brazil to the US to make Brazilian cheese balls… He said they were “too hard to make right from scratch” “no one in Brazil makes them from scratch… I said challenge accepted! These are amazing! and I will show him up (all in fun) this Thanksgiving.
hahah No fighting!!! lol I’m glad you enjoyed it and hope your family loves it, too! Now, your BIL is right – in Brazil, we don’t typically make cheese balls from scratch all that often, but it’s important to have a good trustworthy recipe in your back pocket for times of trouble ahah Happy Thanksgiving!! Beijos xx
Absolutely devine! I made it today for and it was wonderful. Everyone loved it. Thanks for this gem of a recipe. I’ll definitely be making it again.
Wow! What a great recipe! I’ve made it twice now. After the first batch I thought this would also make an amazing flatbread/ pizza crust. Tried it today and it was a success. I’ve been gluten free for 7 years and grain free for the last 4. Pizza crusts have been impossible but this one rocked! Also LOVE the rolls as presented in the recipe – this will be a staple in my kitchen. Thank you thank you thank you!
So happy to hear!!! And what a great idea to use it to make flatbread – I need to try that!
These turned out so perfectly! All these other recipes call for a mini muffin tin or mixer/blender and I didn’t have those so I tried this recipe and love the results.
Soooo good!!! A fairly easy to do recipe with wonderful instructions and tips. I made x4 for my culinary class service and it turned out great! Homemade queso fresco was a great addition as well. Thank you!
Made these twice and love them. As good as any we’ve had in Brasil.
I do add a bit more milk, about a quarter cup. Otherwise the dough seems too dry.
Deeee-licious!
Yay!!! Thank you, Mark!!
My daughter got married this past June and my entire family had an amazing dinner at a local Brazilian steakhouse to celebrate her marriage. My brother in law tried these, and he loved them. He probably ate a dozen! We joked all night about how to steal the rolls and take some home. They’re coming for Thanksgiving and this will be our bread! I’m so excited. Thank you!
Hi Sarah! Congrats on your daughter’s marriage!! <3 You're so welcome 🙂 I'm glad you liked the recipe!!
hi thank you for sharing. I tried last week, but the bread came out too hard on he outside n not fully cook inside. could you advise what I might not have done correctly please. I wish to try again.
Oh no! I’m sorry to hear that – is it possible your oven is too hot? If so, you can try reducing the temperature a little and see if it works. You can also email me a photo of your dough so I can see if it might’ve been an issue there – eggs can be smaller in some countries, and sometimes the fat content on cheeses depending on where you live can also make a little difference, if that’s the case the dough can be a tad tough, and if that’s what you experienced, you can splash some water… just a couple of splashes can help. Let me know!!
Obrigada Aline! e Feliz Ano Novo também! This is the first recipe I tried this year, and I’m so thrilled. I had my eye on this recipe for a while and finally gave it a go. So delicious. I love them! You’re amazing! Hope you have a wonderful year!
Loved this recipe! The step by step was so helpful. I have a question though, I feel like the outside of my balls were crispy or harder. Definitely still good, but do you know what may have caused them to be so crunchy? I hand rolled them, but maybe I over handled the dough? Anyway thanks for sharing this awesome recipe!!!
Hi Kim – glad you liked the recipe!! To answer your question, different cheeses/brands have different levels of moisture (especially of you’re making it with just parm), so next time you make it, you can splash some water to the dough if it feels drier and that that should help with that. Also, make sure your hands are properly oiled when you roll… the oil also helps seal in moisture.
Made these 3 or 4 times, they are fantastic! I do need to add about an extra 1/4 cup of milk to get the right consistency.
I also bake about half of them for about 15-20 minutes before freezing them. To eat those, I bake them from frozen another 15 minutes or so at 350. They turn out great with less waiting!
Beautiful recipe! So easy to make with your instructions! The insides of mine came out a bit gummy/chewy, but they seemed like they were done. Maybe I mixed them too much? Thank you!
Gummy is normal, so you’re good 🙂 Thanks, Nikkk!! So happy you enjoyed them!!
My favorite snack!! So delicious and chewy in the middle, and crispy on the outside. *insert heart eye emoji*